Last Updated on November 22, 2022 by Lady Chin
I had a frustrating experience getting my tourist visa during my last visit to Nigeria. It involved taking planes, buses, and trains to surprise my family and, most importantly, seeing my 103-year-old grandmother during Christmas.
As I look back, the entire ordeal was stressful, nerve-wracking, and tragic, to say the least.
While I would prefer never to relive that experience again, it’s only fitting to share my story and some of the rookie mistakes I made in hopes you don’t go through the same wahala (troubles) as I did.
In this post, I am breaking down the steps Americans need to take to apply for a Nigerian tourist visa so that you can focus on having a memorable and fun trip.
Pin Me for Later!
This is the seventh post in the Nigeria travel series. Here’s the complete 10-part series:
Nigeria Travel Series
Bucket List: 7 Reasons Why You Should Visit Nigeria At Least Once
Travel Guide: The Ultimate Lagos, Nigeria Travel Guide: For First-Time Visitors
Food: 9 Popular Foods To Eat In Nigeria
Packing Guide: The Complete Packing List for Your Trip to Nigeria
Travel Tips: 13 Things You Need To Know Before Visiting Lagos, Nigeria
Inspiration: 15 Photos That Will Make You Want To Visit Nigeria
Tourist Visa: 5 Tips for U.S. Citizens Applying for a Nigerian Tourist Visa
Lagos: 11 Best Things To do in Lagos
My Story: Homegoing: Reuniting with My Biological Family
Travel Itinerary: How to spend 5-day in Lagos, Nigeria
5 Tips for U.S. Citizens Applying For A Nigerian Tourist Visa

What Are The Tourist Application Requirements?
First things first, you must have a valid passport for 6 months. I would check to ensure your passport is valid for at least 8 months just to be safe. I would start my passport renewal process within 9 months of my passport expiring so that I have as little travel disruption as possible.
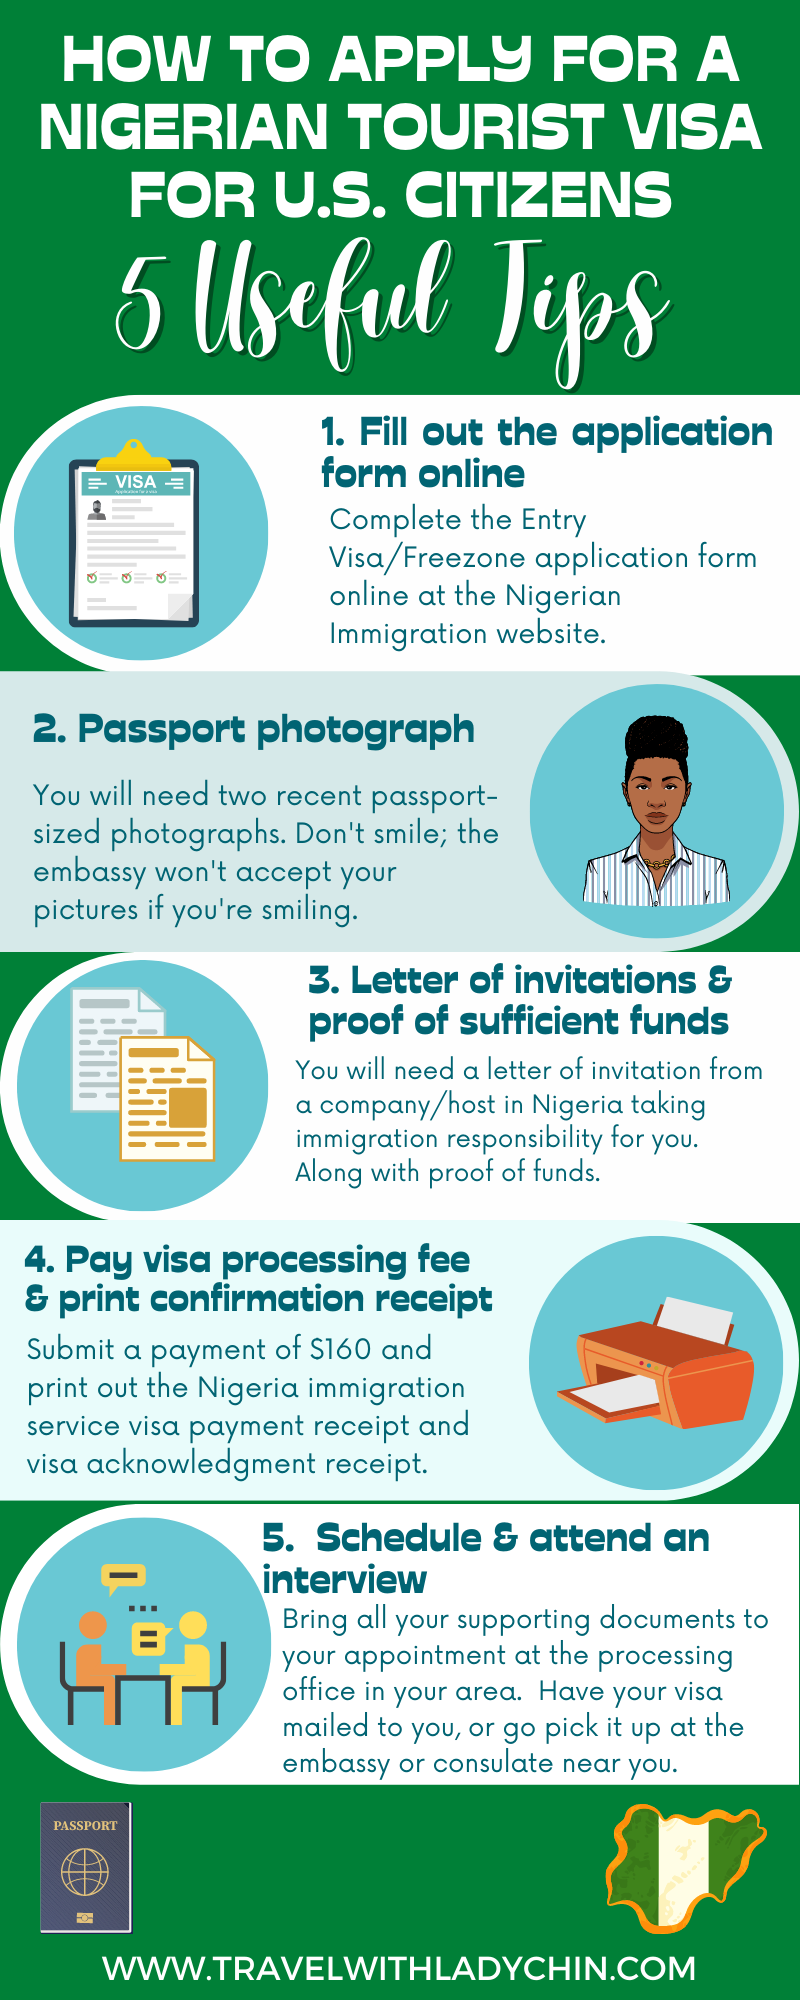
Next, you can complete your application at the Nigeria immigration website.
Be sure to follow the prompts; if you miss a step, you can always go back.
Step 1: Click the visa drop-down and select Apply for entry visa-free zone.
Step 2: Choose the United States as your processing country
Step 3: Click on start your application to fill in your information.
Step 4: You will be directed to the Innovate 1 Services website application.
I logged in with google and proceeded to fill in the required information. If you have a yahoo account, you can move with logging in that way, or you can register and create an account with Open ID to continue filling out the application.
During this step, make sure to have your lodging information handy and flight details, including the name, address, and phone number of your host or family you’ll be staying with.
If you’re staying in a hotel or Airbnb, provide as much information to ensure your application is completed to the best of your abilities.
Step 5: After you’ve successfully completed your application, the final step is to submit a payment of $160. Keep in mind this payment is non-refundable, but if you decide to postpone your travels within 6 months, your application and fee are valid.
Schedule An Interview
Once you’ve successfully completed your application and submitted your payment, you are ready to move to the following process stage. Next, you must schedule an interview with the visa processing office.
If you are applying for your visa in New York and Washington DC, the visa processing office is not located at the Embassies. Do yourself a favor and check the visa processing offices, so you don’t run into the same issues I did.
When I arrived at the consulate in New York, I was turned away and told to visit the visa processing office on the other side of town. Big mistake!
I decided I didn’t want to make the trek from the east side to the west side and told myself I would deal with my visa another day when I was on the west side of town.
I ended up waiting too long to process my visa in New York. I had to travel to Washington, D.C., hoping to get my tourist visa at the embassy in D.C. Still, to my shock and horror, I learned the consulate didn’t process tourist visas and that I needed to go to the office in Rockville, Maryland.
My heart sank. I can’t even begin to tell you all my anger and frustrations then. Especially having traveled in the middle of the night from New York to D.C. just to be one of the first people in line so that when the consulate opened its doors, I would submit my application and then be on my way.
Where Are The Visa Processing Offices Located In The U.S.?
Tourist Visa Processing Offices:
What Documents Should I Bring to the Interview?
On the day of your appointment, don’t forget to bring the following documents with you for your interview:
- Passport valid for 6 months with at least 1 free leaflet for your visa
- Completed visa application form
- Two recent passport-size photographs – don’t smile; the embassy won’t accept your pictures if you’re smiling.
- A letter of invitation from a company/host in Nigeria taking immigration responsibility for you.
- Proof of funds (I printed out my bank statements and removed my account details for 2 months)
- Nigeria immigration service visa payment receipt and visa acknowledgment receipt
- The visa application fee is $60
- Rushed visas are an additional $50 – I had to go this route
- Credit cards and debit cards are accepted.
Insider Tip: Be sure to make your appointment at the location you selected on your application. I brought my application with New York listed as the location and needed to submit a new application AND pay an additional fee. Luckily, I got my refund from the consulate in N.Y.
Don’t Wait Until The Last Minute
Do yourself a favor, don’t be like me, and wait until the last minute. You will save yourself a lot of time and headaches if you take care of your visa process early.
I would say to allow yourself about a month before you leave for your trip. The rushed visa option isn’t guaranteed, and I wouldn’t change it.
Conclusion – Lady Chin’s Two Cents
My misadventure in getting my visa was one for the books. Due to poor planning and waiting until the last minute to get my visa, I was a total and complete nervous wreck. While it’s funny now that I think about it, I was terrified and really just frustrated with myself.
Ultimately, everything worked out and involved picking up my visa in a 5 guys’ parking lot in Bethesda, Maryland, on Christmas day, just in time for my flight the following day. I had angels riding me throughout that journey which I am grateful for.
Nonetheless, take my advice; it’s a story I can tell now; at the moment, I didn’t know how everything would turn out, but I knew my will to see my family again was an obstacle I was more than willing to face.
If you do everything I suggested above and do not make the same mistakes as I did, you’ll have your visa in no time and enjoy your trip!
Related Posts
Liked this post? Pin it and save it for later!
